The Complete Resource
Build a Professional Internet Radio Station
with SAM Broadcaster Pro
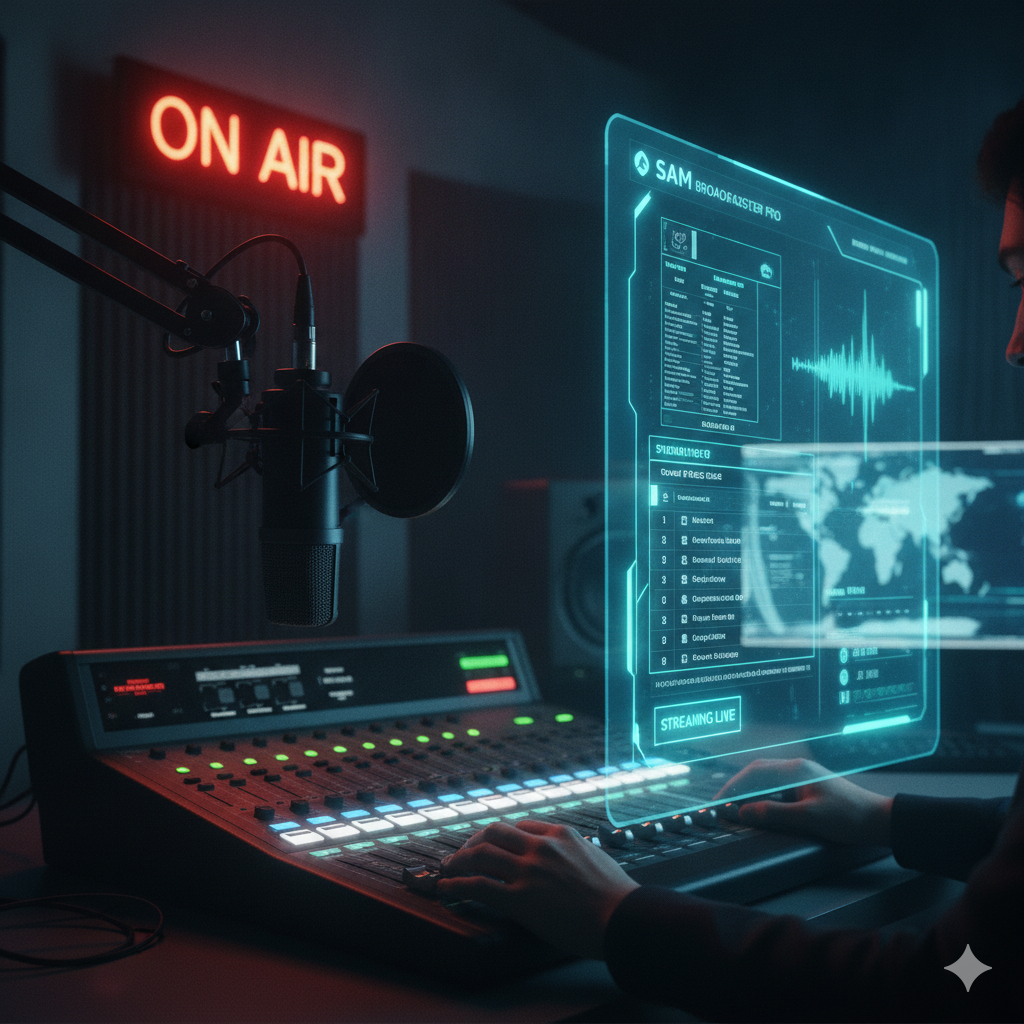
SAM Broadcaster Pro is a feature-rich internet radio automation platform. This guide takes you from first install to a fully automated, professional-sounding station broadcasting 24/7.
Table of Contents
Sam broadcaster pro: Everything You Need, Step by Step
Fourteen chapters covering every part of building and running a SAM Broadcaster Pro station. Work through them in order or jump straight to what you need.
📋
Step 1 — Planning Your StationFormat, hardware, operating style and cost before you begin.
🖥️
Step 2 — Optimizing WindowsSystem settings every broadcast PC needs before installing SAM.
⬇️
Step 3 — Install SAM Broadcaster ProDownload, licence activation, interface overview.
🎵
Step 4 — Library and CategoriesImport music, create categories, use Mass Tagger.
📡
Step 6 — Encoders and StreamingConnect to SHOUTcast or Icecast via Window → Encoders.
🎛️
Step 8 — Sound FX PanelInstant-play buttons for jingles, sweepers and sound effects.
🌐
Step 13 — Website and Remote AccessHTML Output, now-playing widgets and remote desktop tools.
Ready to Start?
Begin with Step 1 and work through each chapter in order — or jump straight to the part you need.
Guides for Other Playout Software
Looking at other options, or setting up more than one system? These guides cover the other major playout applications.
See all guides: stationadmin.com/guides